This page and any visuals on this page assume that the "Wizard" mode is turned on. Wizard mode is turned on by default, but for more information on turning this mode on and off, please view the Enabling and Disabling Wizard Mode section of the My Profile help page.
In order to create an activity, navigate to the class you want to create a survey for (Visit the Quick Summary Page for basic navigation help) and click the "Add Activity" button in the lower-left corner of the page.

This will take you to the Survey Creation tool. You will then need to select the type of Activity you are trying to create:
A Team-Maker survey collects data from students to assist you in placing students into groups.
A Peer-evaluation survey allows students to provide feedback on their teammates' effectiveness and behavior.
After choosing your survey type you will need to input some basic information about your survey:
The first pieces of information you need to input is the Survey Name and the start and end date for your survey. We recommend choosing names that will allow you to easily identify the surveys in the future.
Rater Practice allows students to complete a mock Peer-Evaluation survey in order to obtain experience in accurately assessing their teammates' performance. For any survey you create, you can choose to include Rater Practice and either make it mandatory or have it open for students to do it as they please.
By default, students can edit their answers to a Team-Maker Survey up until the survey end date. Limiting re-entry will prevent students from being able to freely change their Team-Maker survey answers after their first submission.
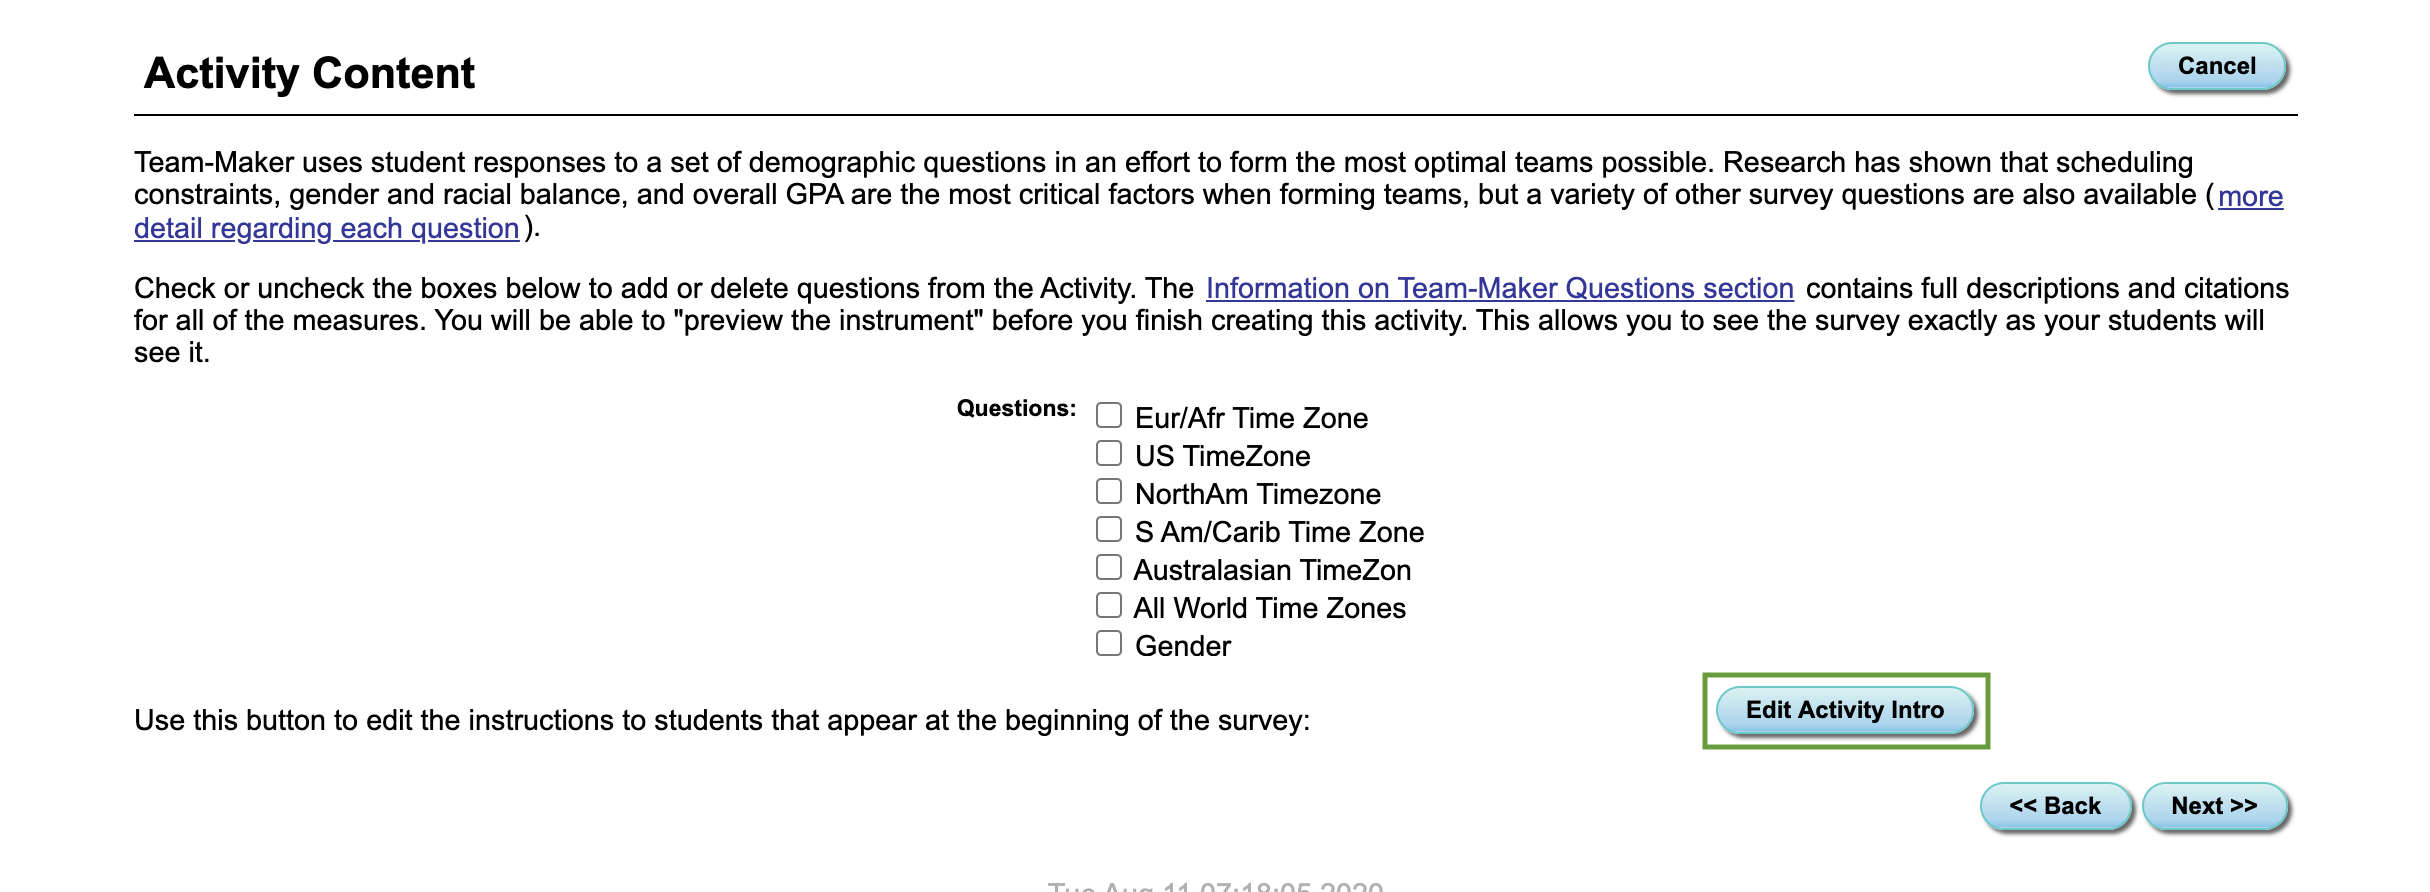
The categories section of survey creation is where you choose the content of your surveys, the questions being asked in your surveys.
This section will vary depending on whether you are making a Team-Maker Survey or a Peer-Evaluation Survey. If you are using the Wizard, there will also be a "Comments" section that appears when you choose to make a Peer-Evaluation survey.
For more information on the categories for the Team-Maker survey, please visit the Team-maker Activity Content help page.
For more information on the categories and comments for the Peer-Evaluation survey, please visit the Peer-Evaluation Activity Content help page.
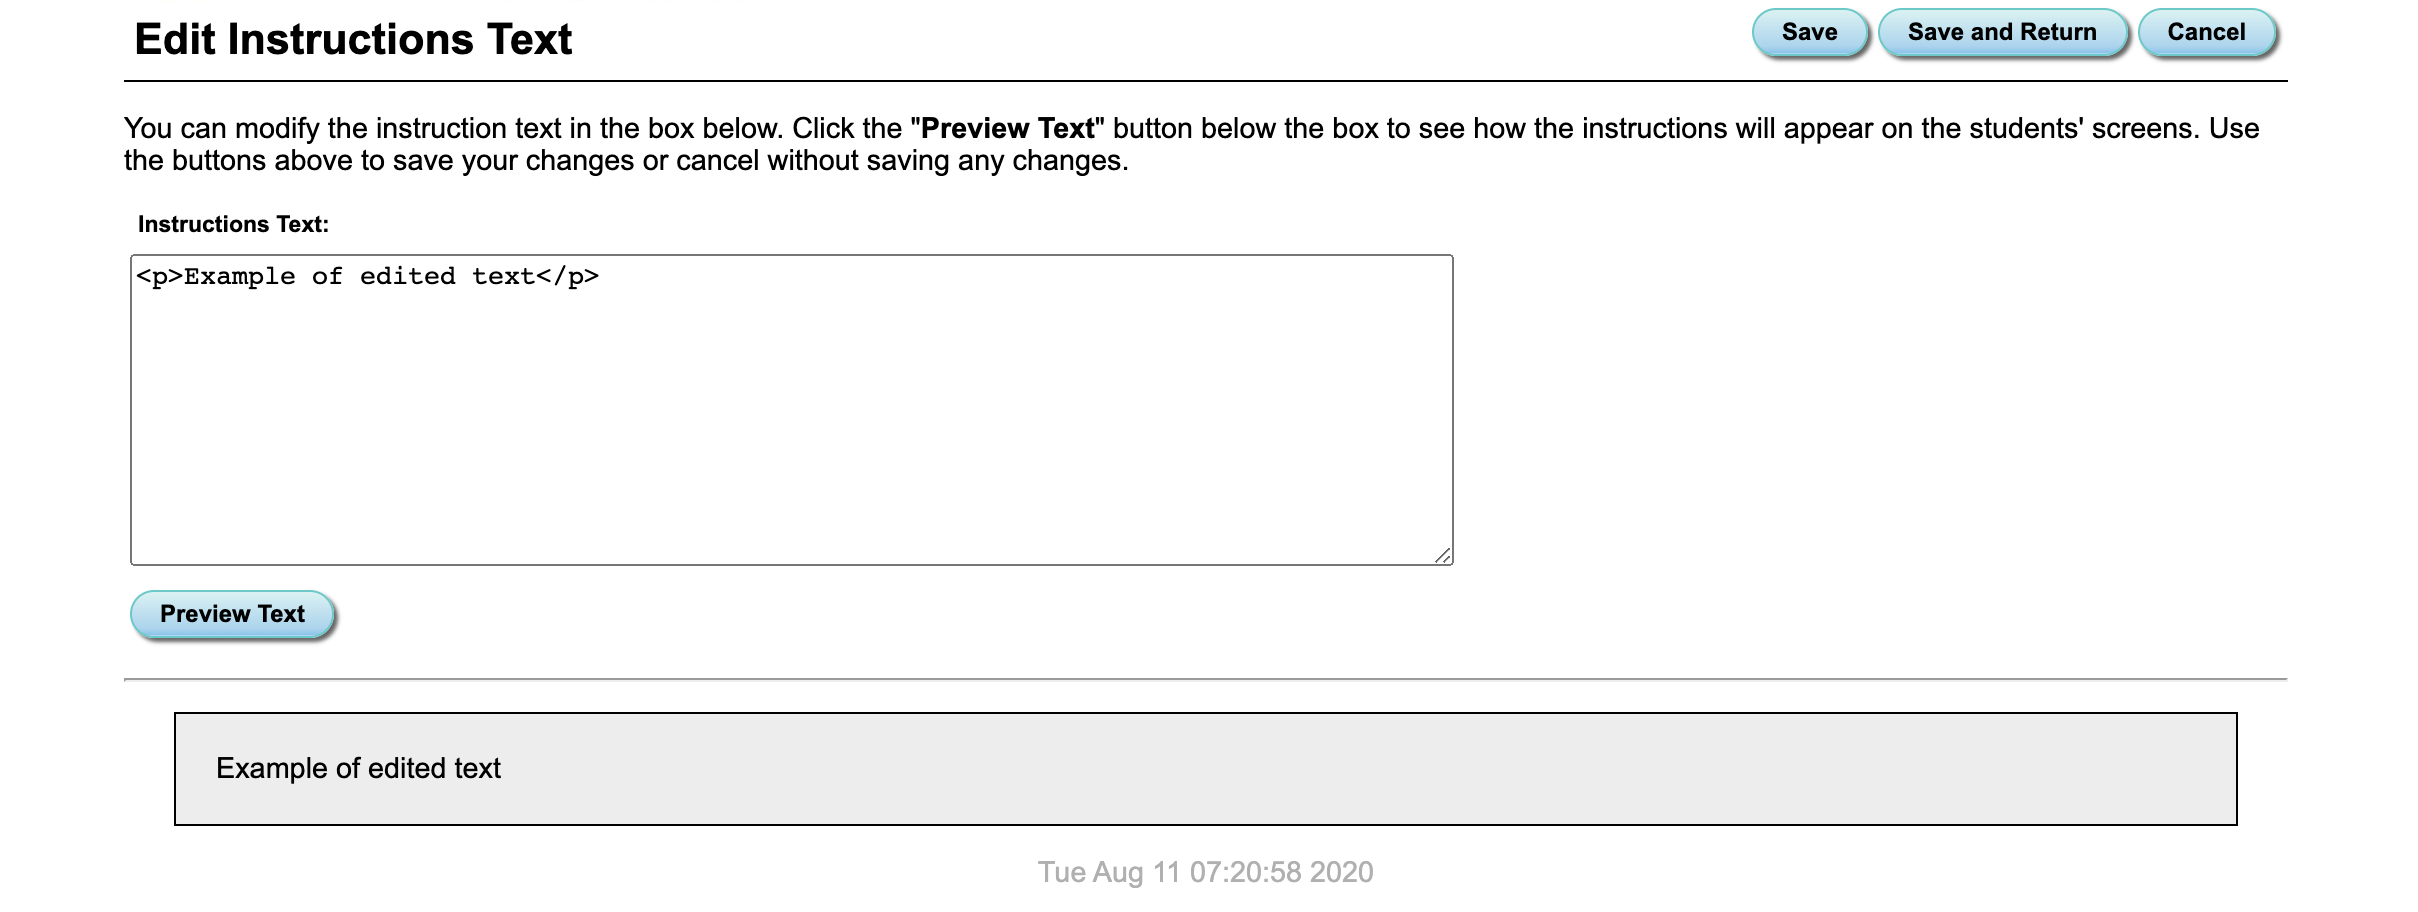
In this section, you can also edit the message your students see when they enter your survey by clicking the "Edit Activity Intro" button, changing the text, and clicking “Save and Return."


This page will appear after you choose the content of your survey in the "Categories" tab and provides you two ways to add students.

When you first create a class, you will need to add students by creating a student CSV file. The CSV file can be easily created using spreadsheet software (Microsoft Excel, Google Sheets, Apple Numbers,etc.). Each CSV file must have the following fields:
Student's first name
Max Length: 20 characters
Allowed characters: letters, numbers, hyphens, spaces, apostrophes, periods
Student's last name
Max Length: 20 characters
Allowed characters: letters, numbers, hyphens, spaces, apostrophes, periods
Student's email address
Max Length: 40 characters
Allowed characters: something that appears to be a valid email address
Student's personal university ID number
Max Length: 15 characters
Allowed characters: letters, numbers, hyphens, and spaces
NOTE: If you are concerned about privacy issues, you may make up a different ID number for the student purely for use in this system. However, please be
consistent across multiple surveys-- the student ID number is the only tool the research team has to track students from survey to survey.
The name of the team the student has been assigned to
Max Length: 30 characters
Allowed characters: letters, numbers, hyphens, spaces
The name of the class section the student is enrolled in
Max Length: 10 characters
Allowed characters: letters, numbers, hyphens, spaces
NOTE for Team-Maker Surveys: If you are making a survey and have multiple sections and want teams formed within the same section, add section numbers for
each student to your CSV file. CATME will then sort your main survey into sub-surveys (each containing a single section) after you finish creating it.
The student's gender
Max Length: N/A
Allowed characters: the value in this field must begin with an 'M' or an 'F' (case is unimportant).
The student's current overall GPA
Max Length: N/A
Allowed characters: must be a valid decimal number between 0.0 and 5.0
The student's grade in an associated previous or prerequisite course for this class
Max Length: N/A
Allowed characters: must either be a numeric grade (a valid decimal number between 0.0 and 5.0), a letter grade ("A"-"F" with an optional "+"/"-" afterward; "E"
and "F" are equivalent), or "P"/"F" (representing pass/fail grades)
Below is an example of an info file.

You can also download the example files on
Student Test Files In CSV Format and use them as a template.
For more information about adding students from a CSV, please visit the Import File Format.
CATME allows you to import students from other active surveys.
First, click the survey you want to import students from using the dropdown box.

Then click import.


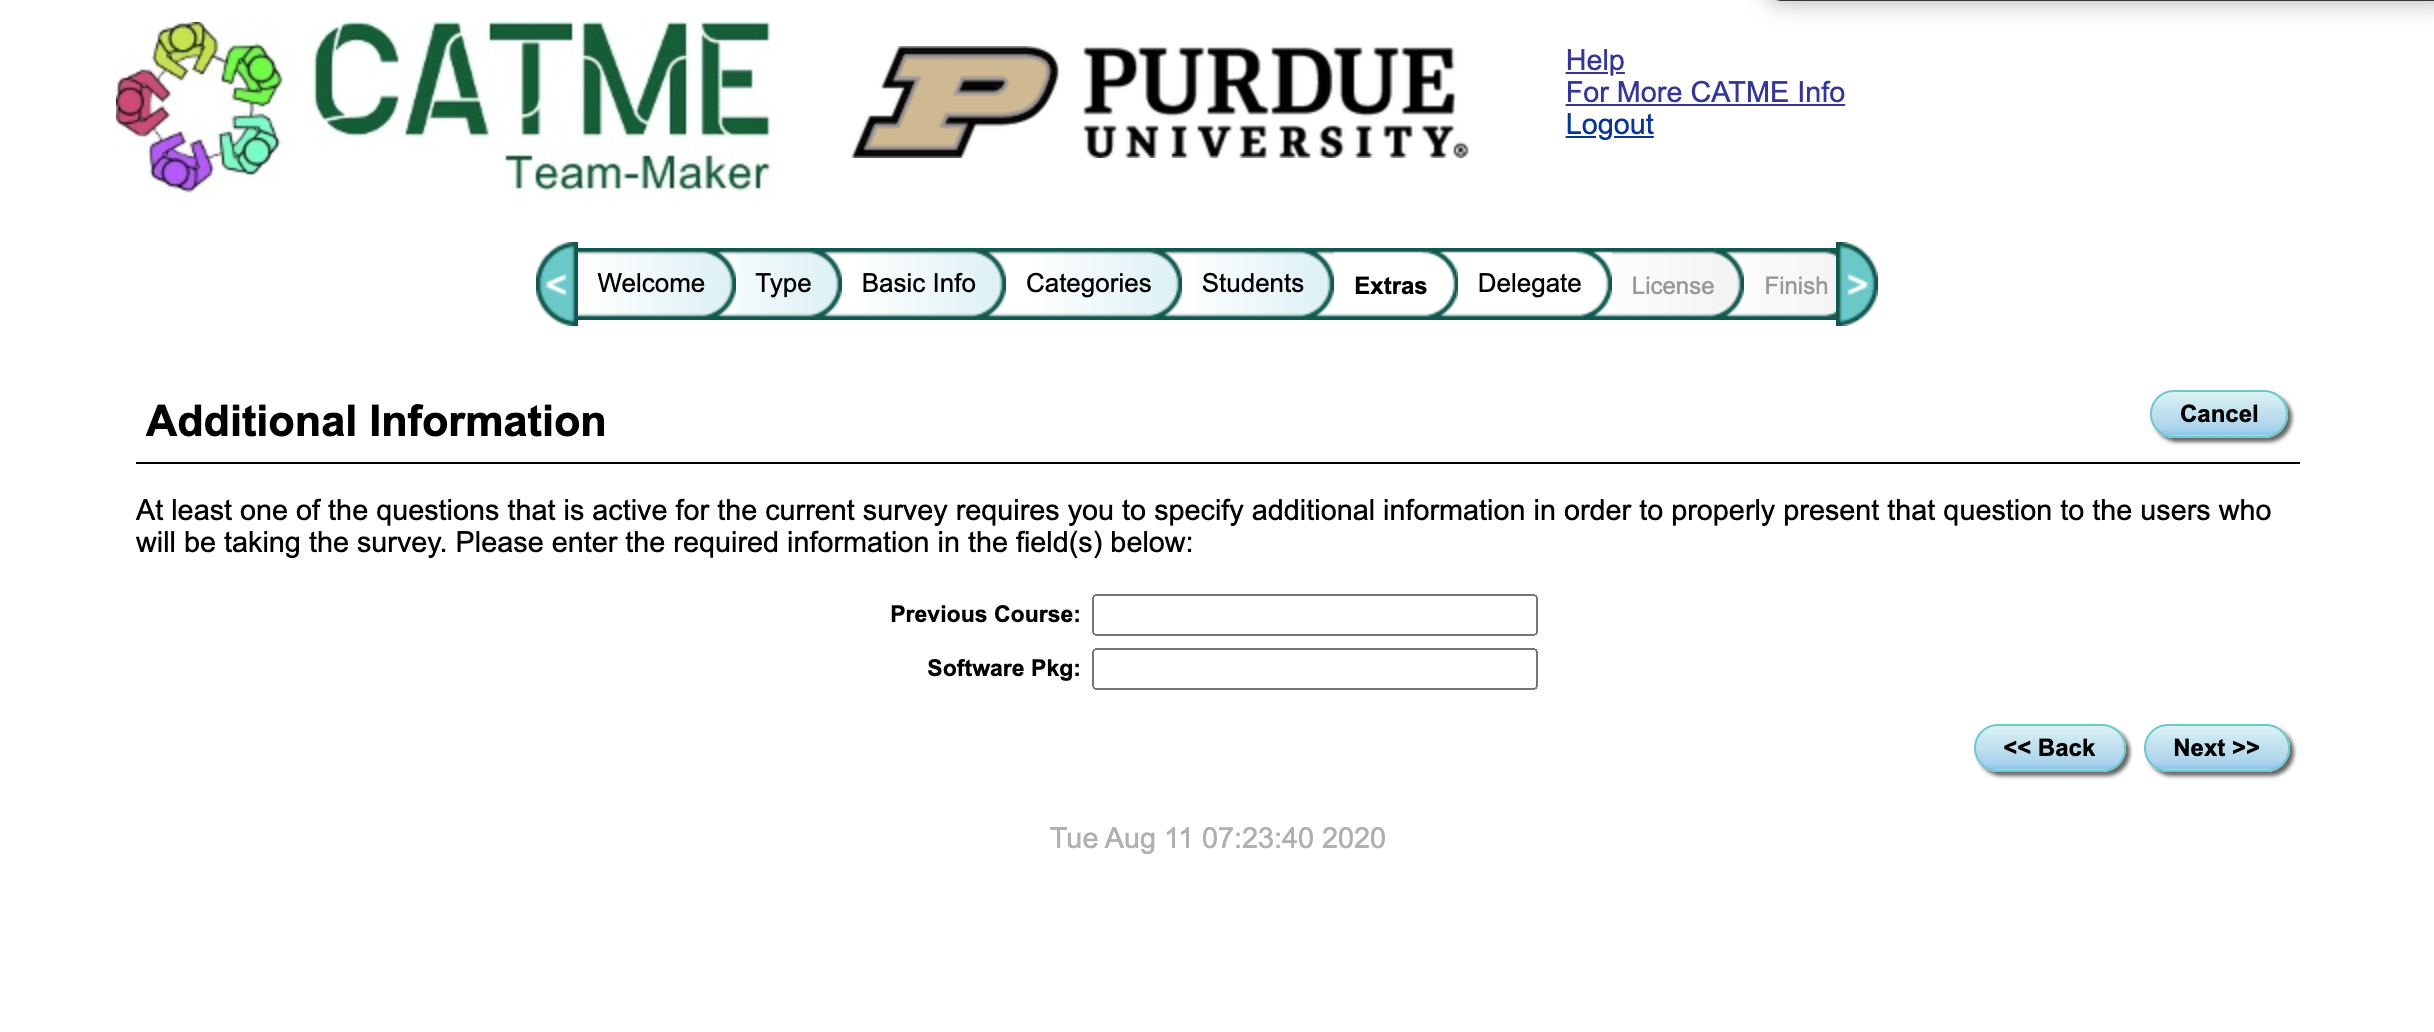
Sometimes, you may be required to enter the "Extras" tab when creating a survey. This is usually because one or more questions you added to your survey require additional information. The CATME system will then prompt you to enter the information it needs. These questions include:
Your grade in the previous course __________ was:
Letter grades will automatically be converted to numbers (A = 4.0)
You will be prompted to fill in
the name of the relevant course.
Your ability to use __________ is:
You will be prompted to fill in the name of the relevant software.
Please check the times that you are in class, at work or practice and are busy and unavailable for group work:
You will be
prompted to choose the size of the scheduling grid students see.
By default, only one instructor can access the data for a survey they create. However, for team-taught courses and large multi-section courses, you may wish to allow other instructors (or teaching assistants) to access the CATME Activity information. To learn how to delegate instructors, please visit our Delegate Instructors help page or view our CATME Faculty Delegation Tutorial video.
Creating a survey with the CATME system requires you to have a valid license. The annual license fee for use of the CATME system is $2.00 per unique student per license year for unlimited use of CATME. Unique student count is based upon previous license year's actual use, or your estimated use in the new license year. If you believe there is an issue with your license, please visit our info page on Billing and Licensing or contact licensing@catme.org.
Surveys may be made up of several distinct sections, which can be administered separately, and administration may even be delegated across many different faculty users. Or you may quickly create surveys with just a single group of students and not bother delegating access to other faculty members.
A survey is created as a "multi-section" survey when you load a student list that defines the special "Section" field (view above section). Another alternative to "multi-section" surveys is to create a separate survey for each section and manage each such survey individually.
CATME gives you the ability to set different survey start/end dates for different sections of the class. In addition, you can grant access to modify survey parameters, student lists, and access survey data to different faculty members on a section-by-section basis.

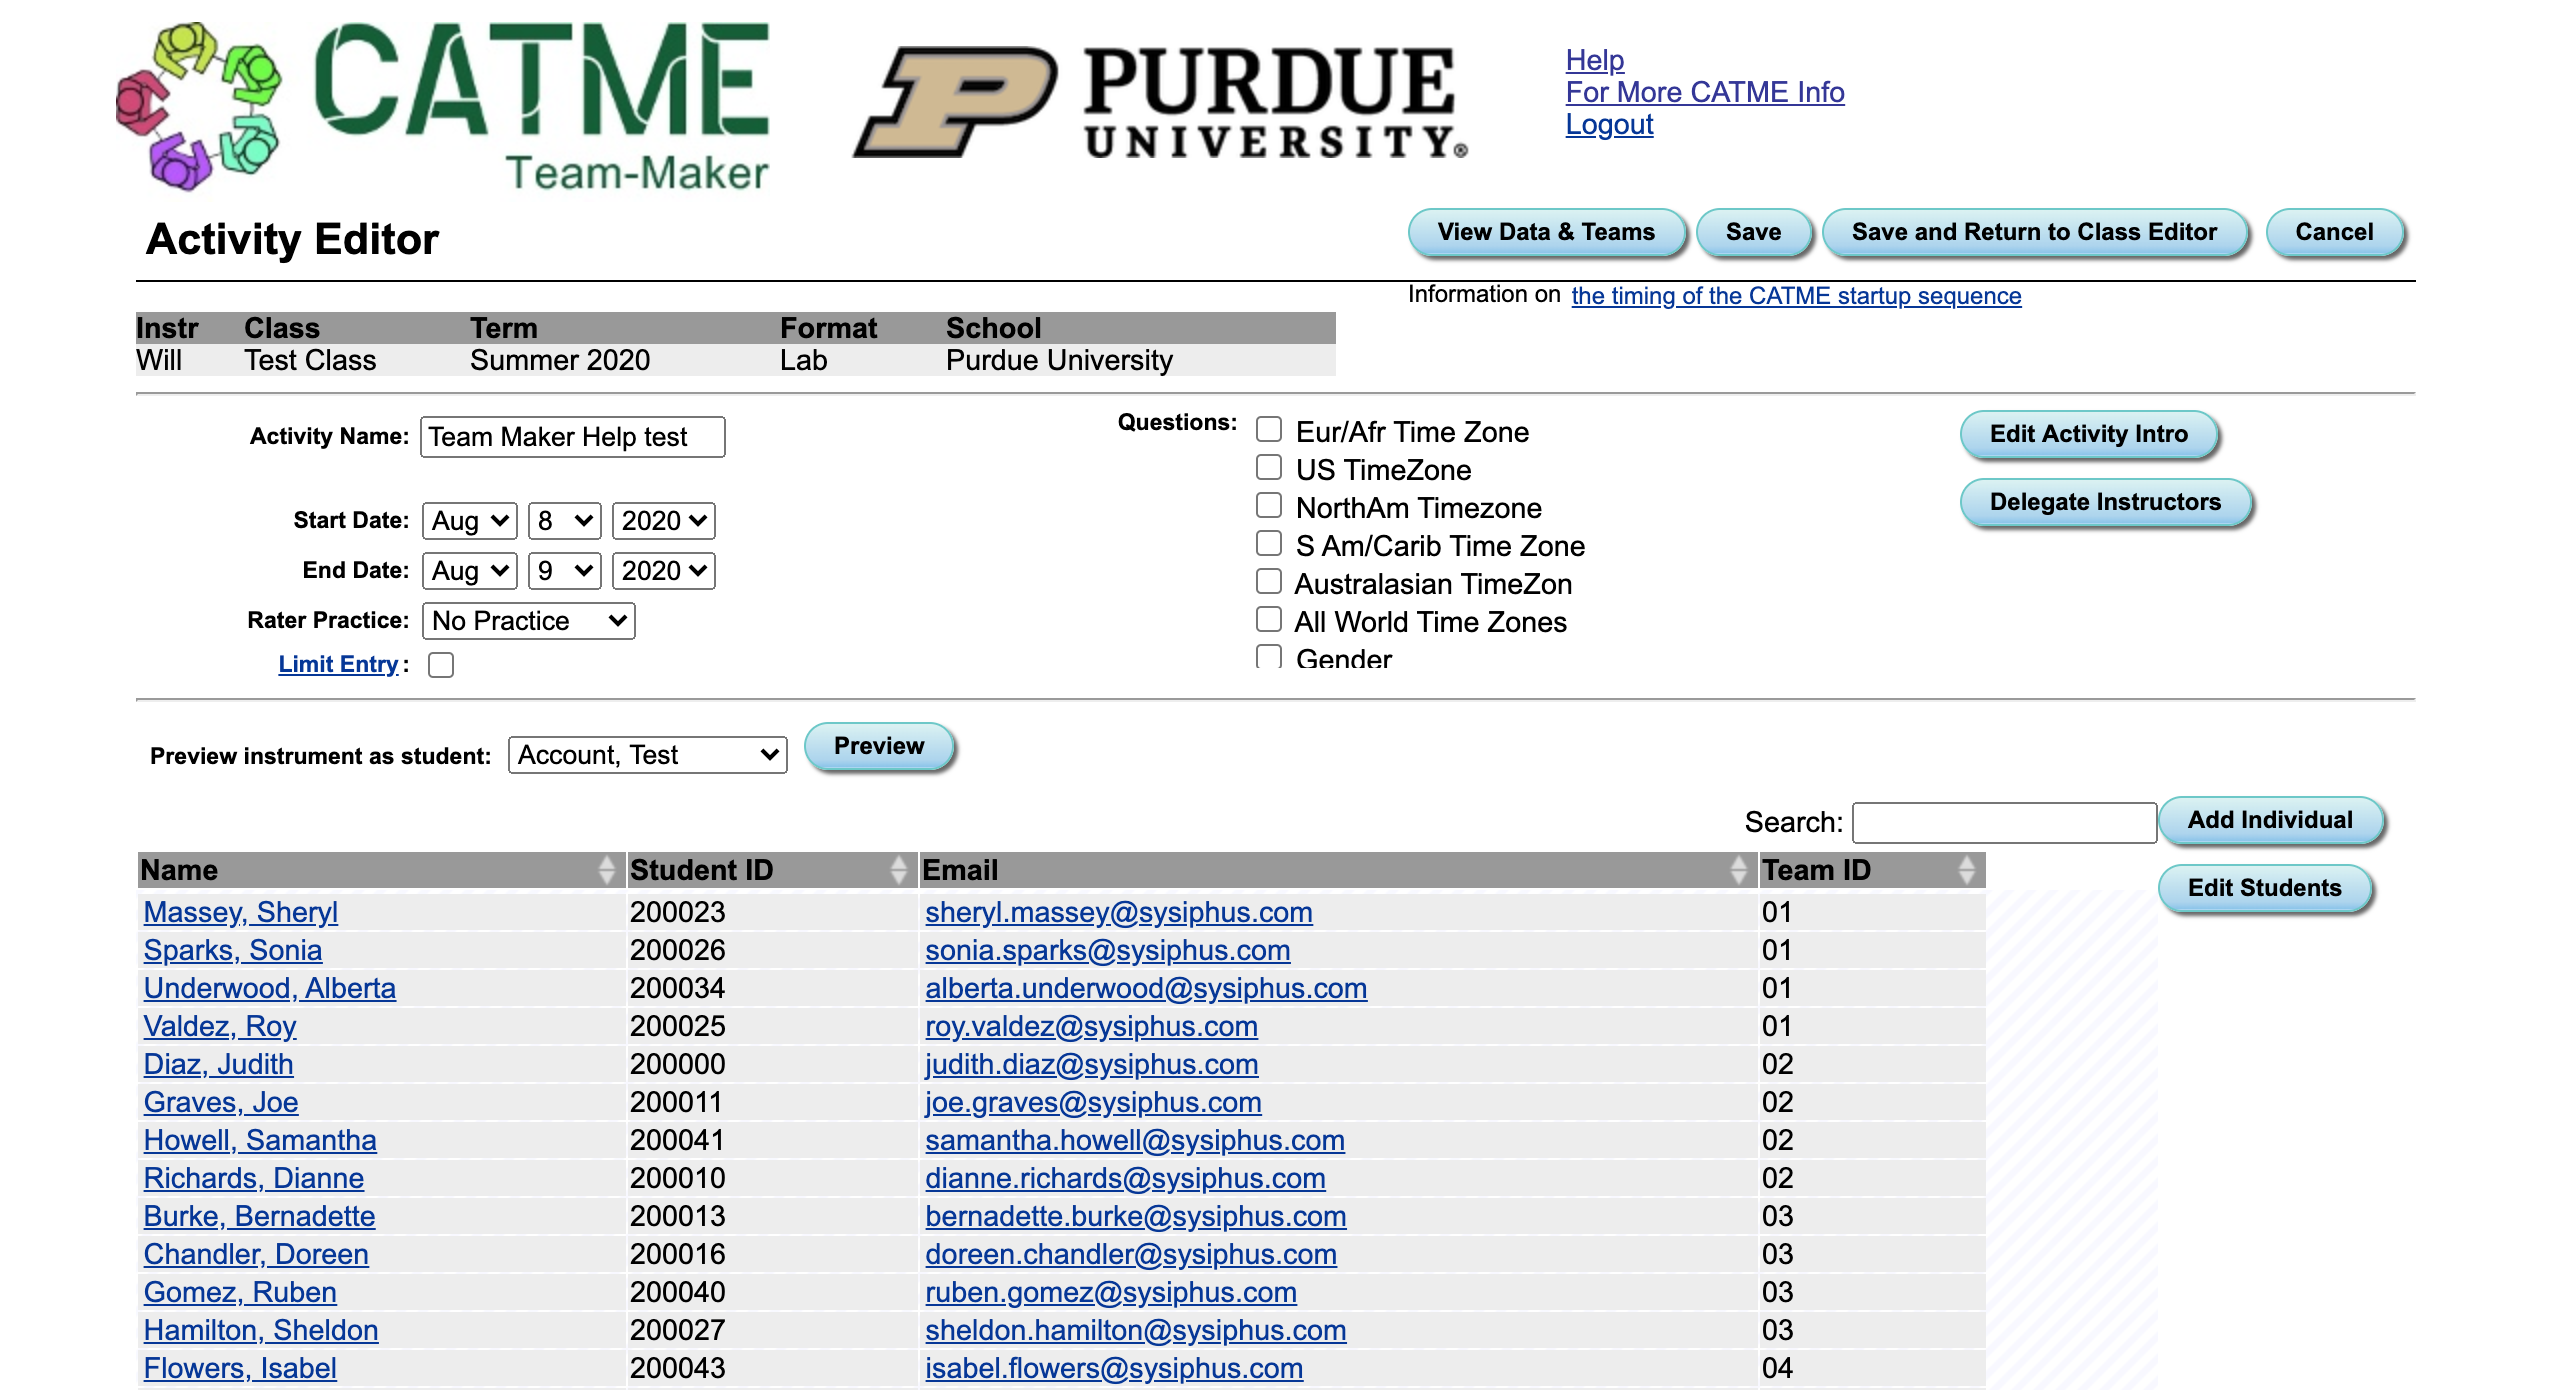
The Activity Editor allows you to change basic activity information of your survey, enable and disable Peer-to-Peer commenting, manage students, edit your Activity
Intro, and Delegate instructors.
The Activity Editor can be accessed by clicking the name of the activity you want to change on the table in the
Quick Summary Page.
To edit your survey, simply change any field and click "Save" or "Save and Return."